一、安装步骤
1.从activemq官网下载activemq
http://activemq.apache.org/
2.将下载好的activemq的gz包上传到Linux服务器
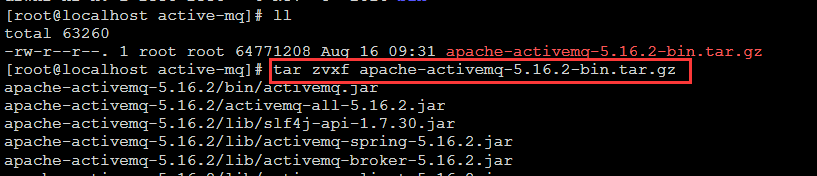
3.解压activemq包
# tar zvxf apache-activemq-5.16.2-bin.tar.gz
4.启动activemq
首先进入到mq的bin目录,然后通过./activemq start启动,以下表示启动成功!
# ./activemq start
二、安装遇到的问题
1.查看activemq安装状态
# ./activemq status
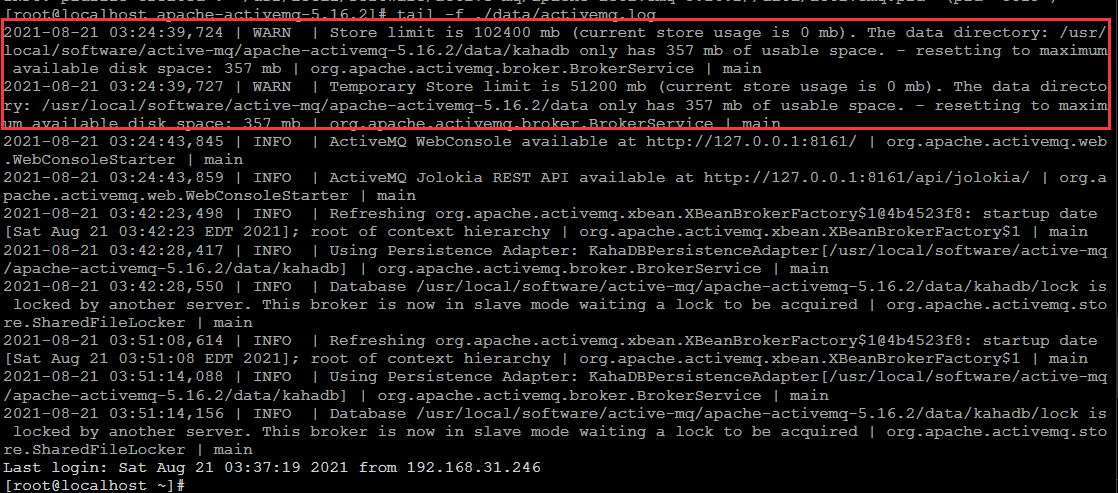
2.查看activemq运行日志
# ./activemq consile
三、访问ActiveMQ页面
待ActiveMQ安装启动好,访问http://ip:8161/admin,登录名和密码都是admin(在配置文件中可修改),进入ActiveMQ的主页:
页面访问不成功问题排查:
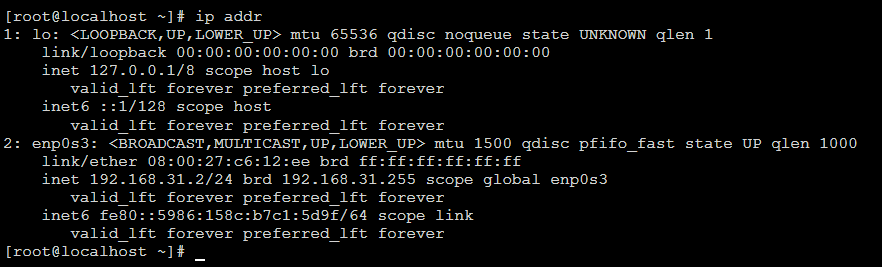
1.Linux服务器的8161端口是否开放,如果没有开放,就开放8161端口
# 查看端口是否开放
# firewall-cmd --query-port=8161/tcp
# 开放端口
# firewall-cmd --permanent --add-port=8161/tcp
# 重启防火墙
# firewall-cmd --reload
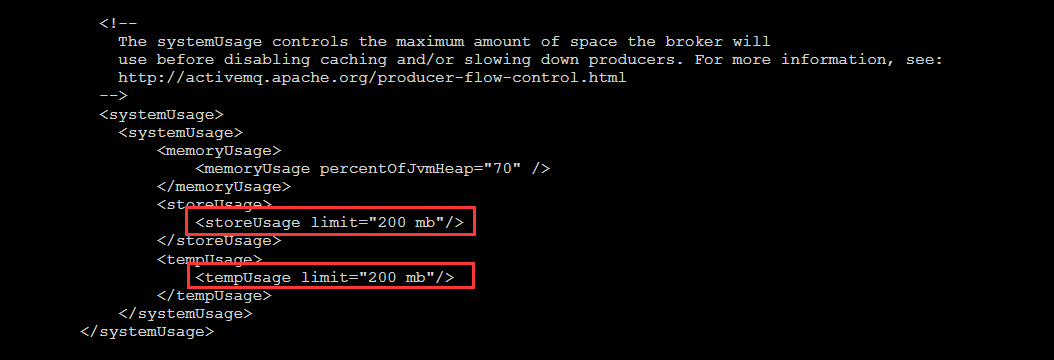
2.查看日志,是否有存储大小设置过大,如果过大,修改配置文件
# vim ./conf/activemq.xml
3.如果是用ip访问,而不是localhost或127.0.0.1访问,查看conf/jetty.xml配置文件,注释掉127.0.0.1这行
# vim ./conf/jetty.xml

四、ActiveMQ页面介绍
1.Queue消息队列页面
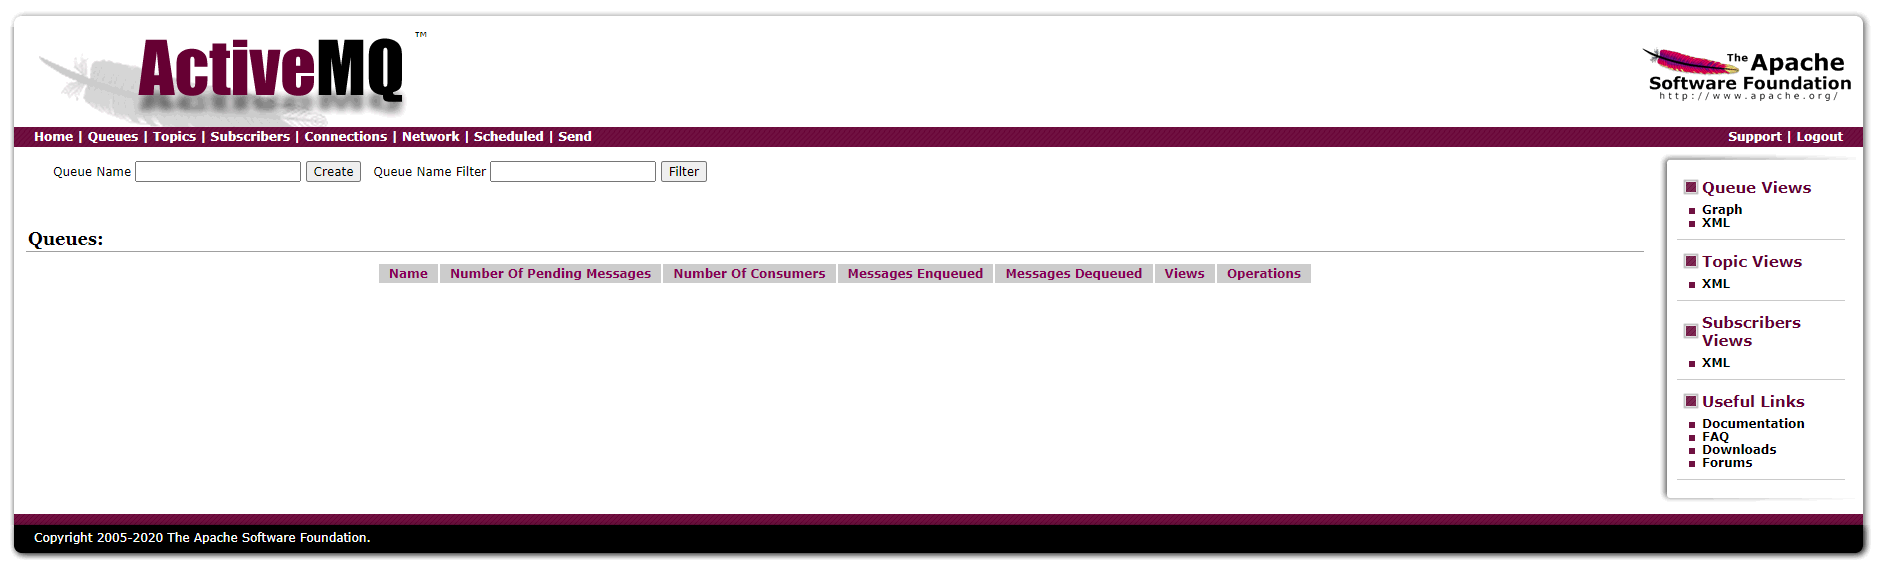
Name: 消息队列名称
Number Of Pending Messages: 未被消费的消息数目
Number Of Consumers: 消费者的数量
Message Enqueued: 进入队列的消息;进入队列的总消息数目,包括已经被消费的和未被消费的。这个数量只增不减。
Message Dequeued: 已出队列的消息,即已被消费掉的消息数目。因为一个消息只会被成功消费一次,所以在Queues里它和进入队列的总数量相等,如果不等是因为有消息未被消费。
2.Topic主题页面
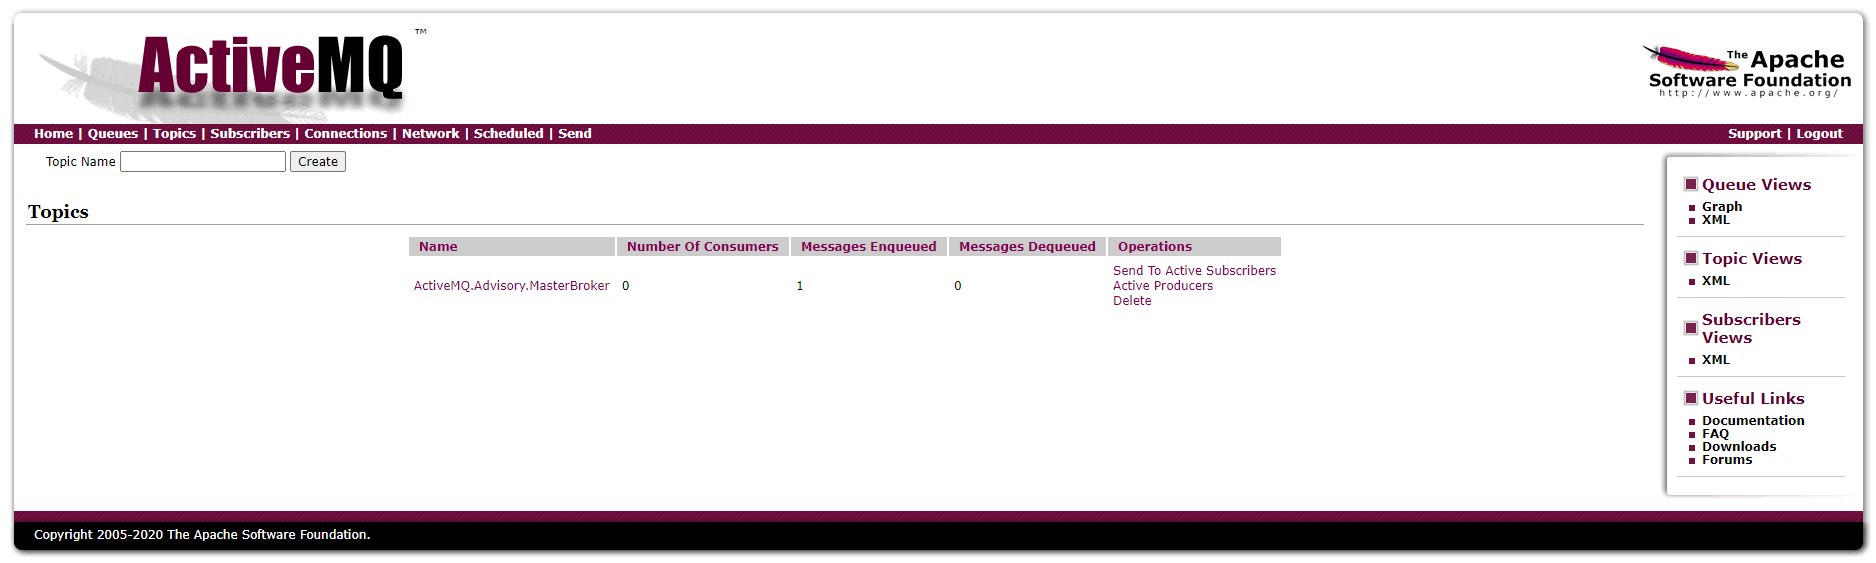
Name: 主题名称
Number Of Pending Messages: 未被消费的消息数目
Number Of Consumers: 消费者的数量
Message Enqueued: 进入队列的消息;进入队列的总消息数目,包括已经被消费的和未被消费的。这个数量只增不减。
Message Dequeued: 已出队列的消息,即已被消费掉的消息数目。在Topics里,因为多消费者从而导致数量会比入队列数高。
3.Subscribers查看订阅者页面
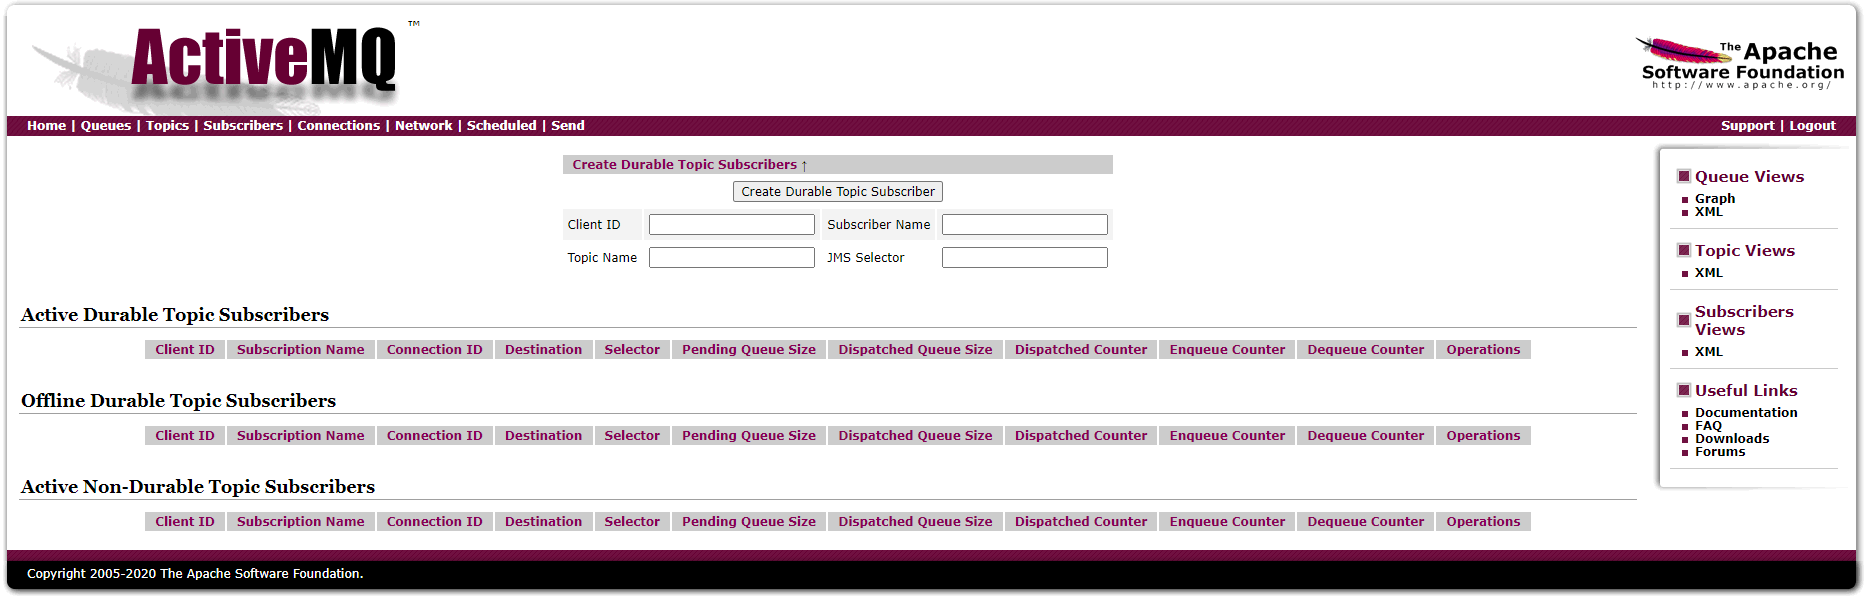
查看订阅者信息,只在Topics消息类型中这个页面才会有数据。
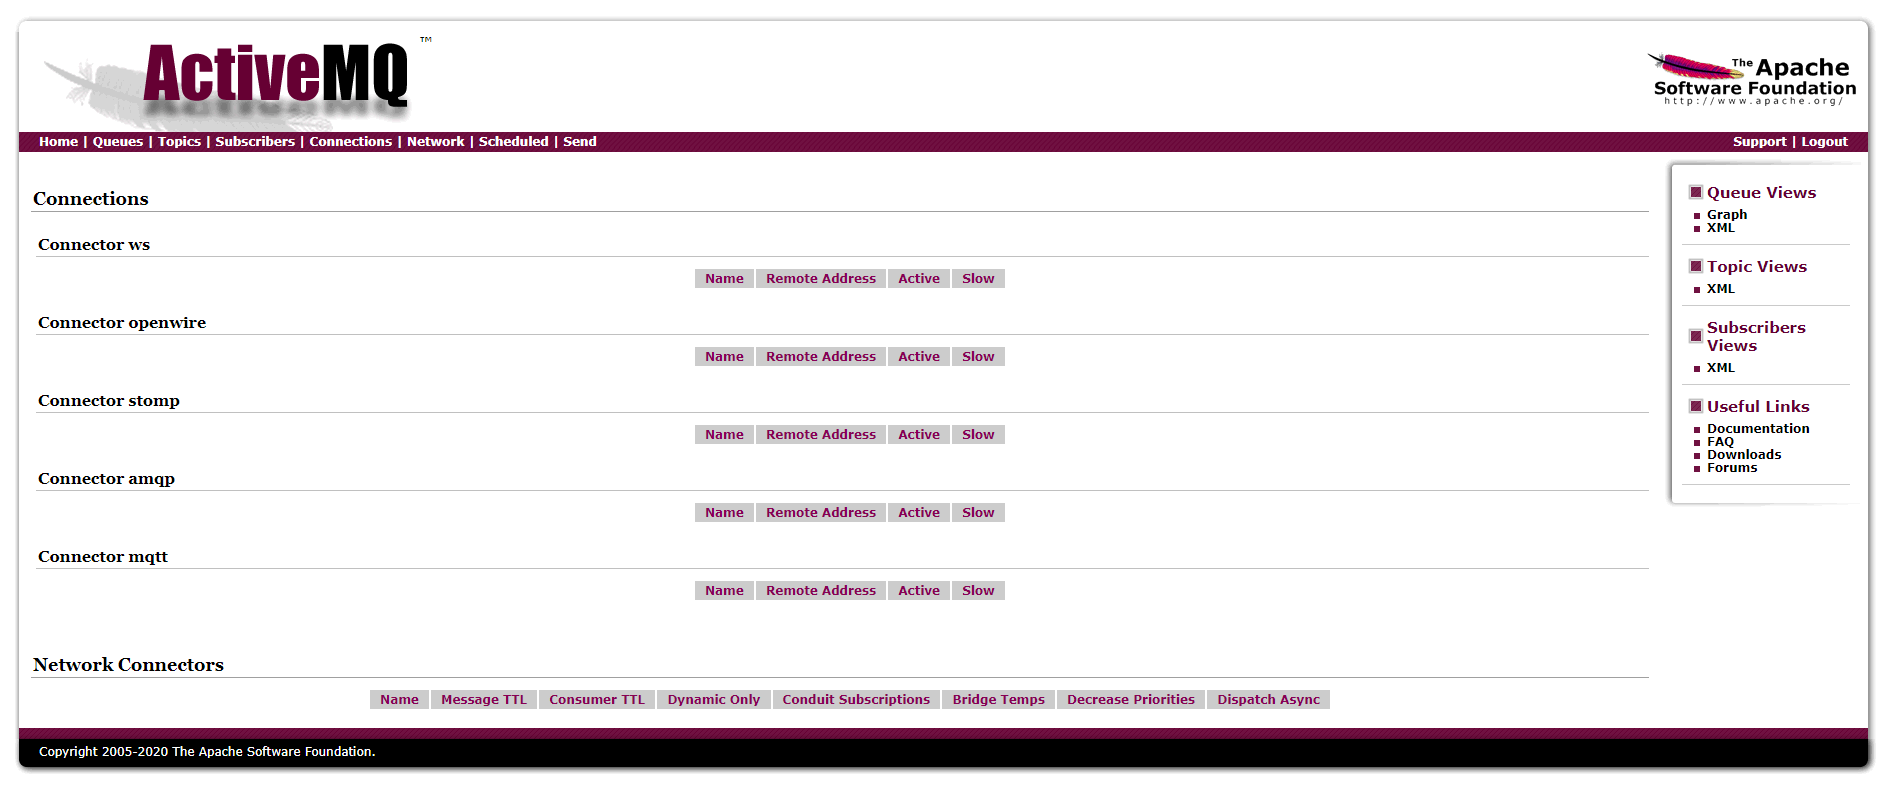
4.Connections查看连接数页面
五、ActiveMQ简单使用
引入jar包
<dependency>
    <groupId>org.apache.activemq</groupId>
    <artifactId>activemq-core</artifactId>
    <version>5.7.0</version>
</dependency>
1.点对点(P2P)模型
点对点模型,采用的是队列(Queue)作为消息载体。在该模式中,一条消息只能被一个消费者消费,只能留在队列中,等待被消费,或者超时。例如:生产者生产了一个消息,只能由一个消费者进行消费,代码演示如下:
Provider步骤:
第一步:创建ConnectionFactory对象,需要指定服务端ip及端口号。
第二步:使用ConnectionFactory对象创建一个Connection对象。
第三步:开启连接,调用Connection对象的start方法。
第四步:使用Connection对象创建一个Session对象。
第五步:使用Session对象创建一个Destination对象(topic、queue),此处创建一个Queue对象。
第六步:使用Session对象创建一个Producer对象。
第七步:创建一个Message对象,创建一个TextMessage对象。
第八步:使用Producer对象发送消息。
第九步:关闭资源。
public class Provider {
    private static String queue = "demo";
    public static void main(String[] args) throws JMSException {
        //第一步:创建ConnectionFactory对象,需要指定服务端ip及端口号
        //brokerURL服务器的ip及端口号
        ActiveMQConnectionFactory connectionFactory = new ActiveMQConnectionFactory("tcp://192.168.31.3:61616");
        //第二步:使用ConnectionFactory对象创建一个Connection对象。
        Connection connection = connectionFactory.createConnection();
        //第三步:开启连接,调用Connection对象的start方法。
        connection.start();
        //第四步:使用Connection对象创建一个Session对象。
        //第一个参数:是否开启事务。当为true时,开启事务,同时第二个参数可以忽略
        //第二个参数:消息的应答模式:1、自动应答;2、手动应答。当第一个参数为false时,才有意义。
        Session session = connection.createSession(false, Session.AUTO_ACKNOWLEDGE);
        //第五步:使用Session对象创建一个Destination对象(topic、queue),此处创建一个Queue对象。
        //参数:队列名称
        Queue queue = session.createQueue(Provider.queue);
        //每六步:使用Session对象创建一个Producer对象。
        MessageProducer producer = session.createProducer(queue);
        for (int i = 0; i < 10; i++) {
            //第七步:创建一个Message对象,创建一个TextMessage对象。
            TextMessage textMessage = session.createTextMessage("消费者你好,我来了-" + i);
            //第八步:使用Producer对象发送消息。
            producer.send(textMessage);
        }
        System.out.println("----生产结束----");
        //第九步:关闭资源
        producer.close();
        session.close();
        connection.close();
    }
}
Consumer步骤:
第一步:创建一个ConnectionFactory对象。
第二步:从ConnectionFactory对象中获得一个Connection对象。
第三步:开启连接。调用Connection对象的start方法。
第四步:使用Connection对象创建一个Session对象。
第五步:使用Session对象创建一个Destination对象。和发送端保持一致queue,并且队列的名称一致。
第六步:使用Session对象创建一个Consumer对象。
第七步:接收消息。
第八步:打印消息。
第九步:关闭资源
public class Comsoner {
    private static String queue = "demo";
    public static void main(String[] args) throws JMSException, IOException {
        System.out.println("----消费结束----");
        //第一步:创建一个ConnectionFactory对象
        ActiveMQConnectionFactory factory = new ActiveMQConnectionFactory("tcp://192.168.31.3:61616");
        //第二步:从ConnectionFactory对象中获得一个Connection对象。
        Connection connection = factory.createConnection();
        //第三步:开启连接。调用Connection对象的start方法。
        connection.start();
        //第四步:使用Connection对象创建一个Session对象。
        Session session = connection.createSession(false, Session.AUTO_ACKNOWLEDGE);
        //第五步:使用Session对象创建一个Destination对象。和发送端保持一致queue,并且队列的名称一致。
        Queue queue = session.createQueue(Comsoner.queue);
        //第六步:使用Session对象创建一个Consumer对象。
        MessageConsumer consumer = session.createConsumer(queue);
        //第七步:接收消息
        consumer.setMessageListener(new MessageListener() {
            public void onMessage(Message message) {
                TextMessage textMessage = (TextMessage) message;
                try {
                    String text = textMessage.getText();
                    System.out.println(text);
                } catch (JMSException e) {
                    e.printStackTrace();
                }
            }
        });
        //第八步:关闭资源
        consumer.close();
        session.close();
        connection.close();
    }
}
2.发布/订阅(Pub/Sub)模型
发布/订阅模型采用的是主题(Topic)作为消息通讯载体。该模式类似微信公众号的模式。发布者发布一条信息,然后将该信息传递给所有的订阅者。注意:订阅者想要接收到该消息,必须在该信息发布之前订阅。代码演示如下:
Provider步骤:
第一步:创建ConnectionFactory对象,需要指定服务端ip及端口号。
第二步:使用ConnectionFactory对象创建一个Connection对象。
第三步:开启连接,调用Connection对象的start方法。
第四步:使用Connection对象创建一个Session对象。
第五步:使用Session对象创建一个Destination对象(topic、queue),此处创建一个Queue对象。
第六步:使用Session对象创建一个Producer对象。
第七步:创建一个Message对象,创建一个TextMessage对象。
第八步:使用Producer对象发送消息。
第九步:关闭资源。
public class Comsoner {
    private static String queue = "topic";
    public static void main(String[] args) throws JMSException, IOException {
        //第一步:创建ConnectionFactory对象,需要指定服务端ip及端口号。
        //brokerURL服务器的ip及端口号
        ActiveMQConnectionFactory factory = new ActiveMQConnectionFactory("tcp://192.168.31.3:61616");
        //第二步:使用ConnectionFactory对象创建一个Connection对象。
        Connection connection = factory.createConnection();
        //第三步:开启连接,调用Connection对象的start方法。
        connection.start();
        //第四步:使用Connection对象创建一个Session对象。
        //第一个参数:是否开启事务。true:开启,开启时第二个参数可以忽略
        //第二个参数:当第一个参数为false时,这个参数才有意义。消息的应答模式:1-自动应答;2-手动应答
        Session session = connection.createSession(false, Session.AUTO_ACKNOWLEDGE);
        //第五步:使用Session对象创建一个Destination对象。和发送端保持一致topic,并且话题和名称一致
        Topic topic = session.createTopic(queue);
        //第六步:使用Session对象创建一个Consumer对象
        MessageConsumer consumer = session.createConsumer(topic);
        //第七步:接收消息
        consumer.setMessageListener(new MessageListener() {
            public void onMessage(Message message) {
                TextMessage textMessage = (TextMessage) message;
                try {
                    String text = textMessage.getText();
                    System.out.println(text);
                } catch (JMSException e) {
                    e.printStackTrace();
                }
            }
        });
        System.out.println("topic的消费端。。。。");
        //第八步:关闭资源
        consumer.close();
        session.close();
        connection.close();
    }
}
Consumer步骤:
第一步:创建一个ConnectionFactory对象。
第二步:从ConnectionFactory对象中获得一个Connection对象。
第三步:开启连接。调用Connection对象的start方法。
第四步:使用Connection对象创建一个Session对象。
第五步:使用Session对象创建一个Destination对象。和发送端保持一致queue,并且队列的名称一致。
第六步:使用Session对象创建一个Consumer对象。
第七步:接收消息。
第八步:打印消息。
第九步:关闭资源
public class Comsoner {
    private static String queue = "demo";
    public static void main(String[] args) throws JMSException, IOException {
        System.out.println("----消费结束----");
        //第一步:创建一个ConnectionFactory对象
        ActiveMQConnectionFactory factory = new ActiveMQConnectionFactory("tcp://192.168.31.3:61616");
        //第二步:从ConnectionFactory对象中获得一个Connection对象。
        Connection connection = factory.createConnection();
        //第三步:开启连接。调用Connection对象的start方法。
        connection.start();
        //第四步:使用Connection对象创建一个Session对象。
        Session session = connection.createSession(false, Session.AUTO_ACKNOWLEDGE);
        //第五步:使用Session对象创建一个Destination对象。和发送端保持一致queue,并且队列的名称一致。
        Queue queue = session.createQueue(Comsoner.queue);
        //第六步:使用Session对象创建一个Consumer对象。
        MessageConsumer consumer = session.createConsumer(queue);
        //第七步:接收消息
        consumer.setMessageListener(new MessageListener() {
            public void onMessage(Message message) {
                TextMessage textMessage = (TextMessage) message;
                try {
                    String text = textMessage.getText();
                    System.out.println(text);
                } catch (JMSException e) {
                    e.printStackTrace();
                }
            }
        });
        //第八步:关闭资源
        consumer.close();
        session.close();
        connection.close();
    }
}
3.两种模式对比
1)由以上,我们可以总结出ActiveMQ的实现步骤:
- 建立ConnectionFactory工厂对象,需要填入用户名、密码、连接地址
- 通过ConnectionFactory对象创建一个Connection连接
- 通过Connection对象创建Session会话
- 通过Session对象创建Destination对象;在P2P的模式中,Destination被称作队列(Queue),在Pub/Sub模式中,Destination被称作主题(Topic)
- 通过Session对象创建消息的发送和接收对象
- 发送消息
- 关闭资源
2)可以看出,P2P模式和Pub/Sub模式,在实现上的区别是通过Session创建的Destination对象不一样,在P2P的模式中,Destination被称作队列(Queue),在Pub/Sub模式中,Destination被称作主题(Topic)
六、JMS消息可靠机制
ActiveMQ消息签收机制:客户端成功接收一条消息的标志是一条消息被签收,成功应答。
消息的签收情形分两种:
1、带事务的session。如果session带的事务,并且事务成功提交,则消息被自动签收。如果事务回滚,则消息会被再次传送。
2、不带事务的session。不带事务的session的签收方式,取决于session的配置。
ActiveMQ支持以下三种模式:
1、Session.AUTO_ACKNOWLEDGE 消息自动签收
2、Session.CLIENT_ACKNOWLEDGE客户端调用acknowledge方法手动签收。
textMessage.acknowledge(); //手动签收
3、Session.DUPS_OK_ACKNOWLEDGE不是必须签收。
消息可能会重复发送。在第二次重新传送消息的时候,消息只有在被确认之后,才认为已经被成功地消费了。消息的成功消费通常包含三个阶段:客户接收消息、客户处理消息和消息被确认。在事务性会话中,当一个事务被提交的时候,确认自动发生。在非事务性会话中,消息何时被确认取决于创建会话时的应答模式(acknowledgement mode)。该参数有以下三个可选值:
Number Of Consumers 消费者 这个 是消费者端的消费者数量
Numbwr Of Pending Messages等待消费的消息 这个是当前未出队列的数量。可以理解为总接收数-总出队列数
Messages Enqueued 进入队列的消息 进入队列的总数量,包括出队列的。这个数量只增不减
Messages Dequeued 出了队列的消息 可以理解为是消费者消费掉的数量。
七、JMS可靠消息机制-持久话机制
PERSISTENT:指示JMS provider持久保存消息,以保证消息不会因为JMS provider的失败而丢失
NON_PERSISTENT:不要求JMS provider持久保存消息
// 设置消息持久化 producer.setDeliveryMode(DeliveryMode.PERSISTENT);